Join the forum discussion here.
View the webinar on YouTube here.
Read a full transcript of the webinar here.Rich: Good morning everybody, thank you – or good afternoon. Thank you for attending, hope you’re having a great day; for some of you I understand it’s the beginning, and for others it may be the end, but I hope everybody’s having a good day.
And today we’re going to be talking about field forensics for the front line. So let’s get this rolling.
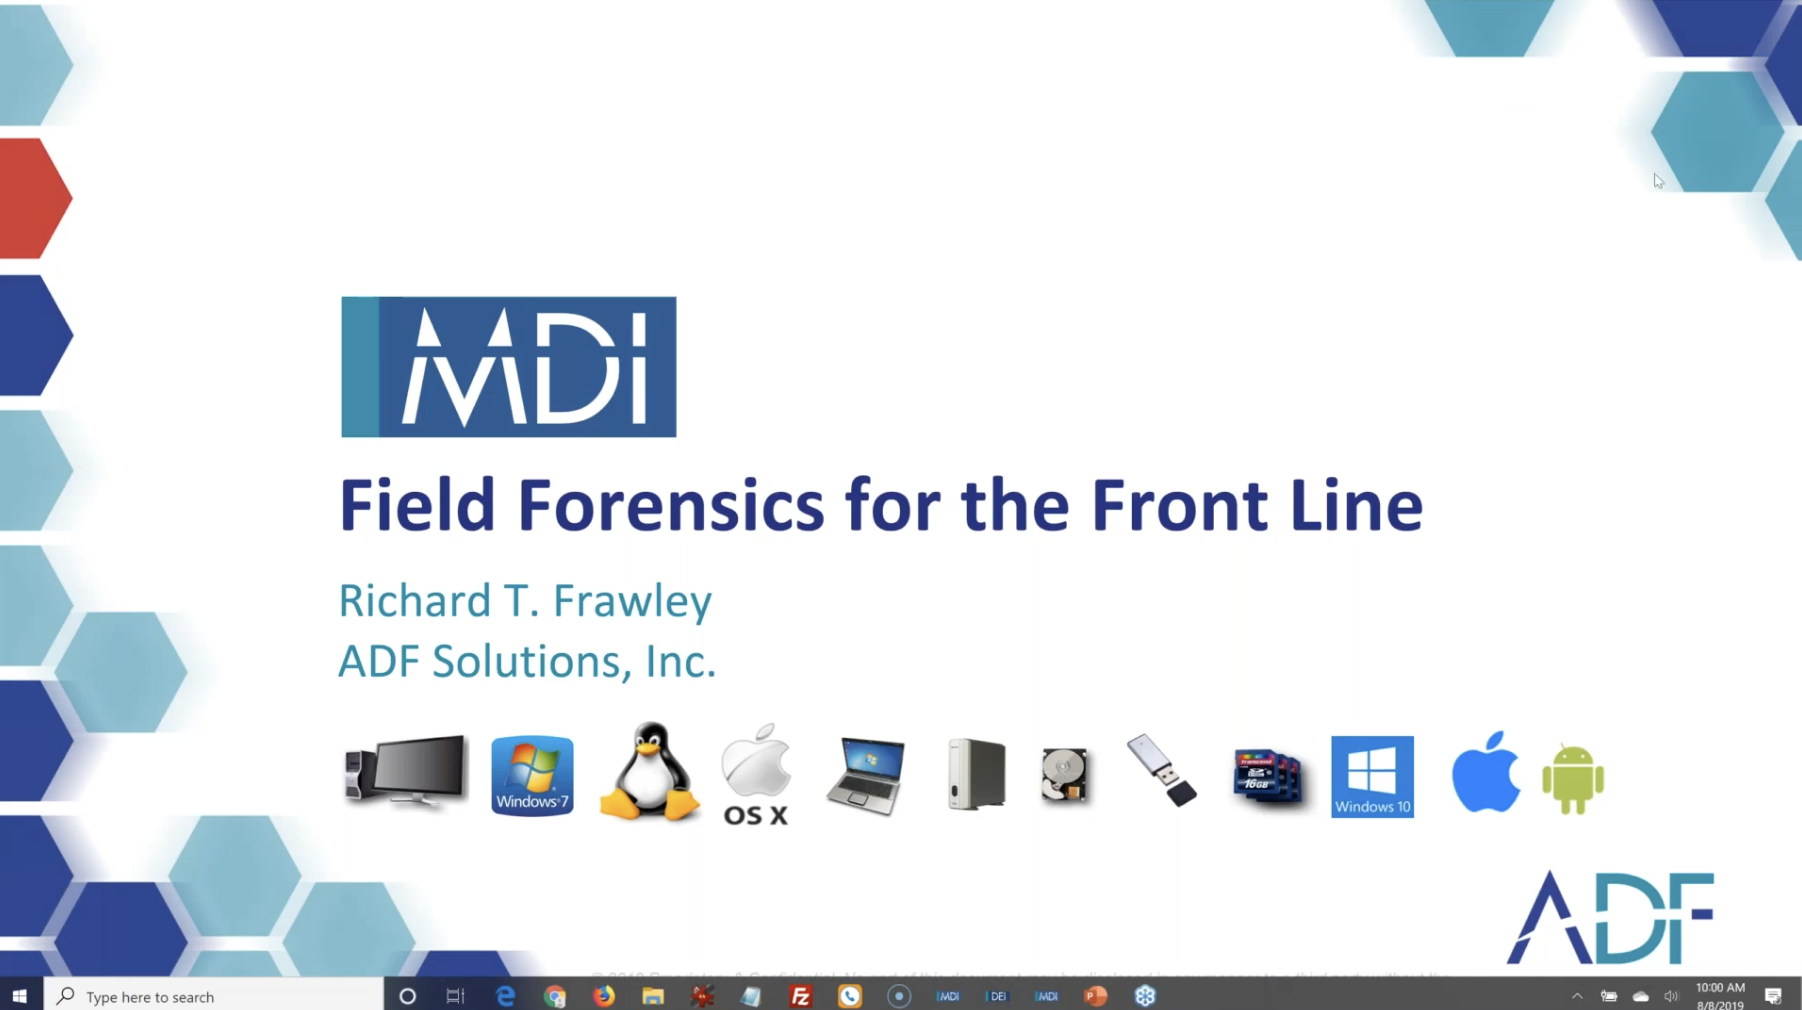
So this is me: I’m your host, Rich Frawley; thanks for joining me today. I hope by the end of this webinar you’re going to share my enthusiasm for how Mobile Device Investigator can help you solve your cases; help you get that information that you’re looking for upfront.
I’ve been with ADF for three years, after a 22-year career in law enforcement. And during my career I had the opportunity to perform forensic examinations most of the time, 99% of the time probably, and also investigate the cases. I worked a variety of cases, you know: frauds, homicides, threats, jury tampering. [That] was one of my favourites, where the digital evidence, that case hinged on that.
But also, I recall working a lot of overtime shifts or extra duty jobs, and you’d end up with this case in your hand that involved a mobile device, or you’d have a cooperating witness or subjects that are willing at that time to let you collect data, and this is one of the situations we’re going to be covering here today.
So we’ve come a long way since the introduction of digital forensics in law enforcement, and we need to keep that moving forward. Progress with the technological abilities we have, the technology that we’re working with, the advances that have been made: we don’t want to let that stagnate.
One way we do this is empowering the front line investigator, giving them that ability to collect those relevant items at the time the device is available to you. The on-scene officer or agent finds yourself in a position where it always seems you’re waiting for someone else to come collect the video for you, or your documents, your messages, the image that’s relevant to your case.
Does that ever drop through the cracks? Sure it does! You know, you have a cooperating witness who wants to run away at the time but you’re like, alright, I’ll get the video tomorrow, but then they don’t call you back, they don’t want to reach out, or they don’t want to make that travel: ten, fifteen minutes back to the station so you can grab this. People change their minds: they can’t be located. So we want to collect that data upfront if we can.
They say 90% of your cases can be solved with 10% of your data, and on a lot of occasions that data could be collected right there on scene at the time of your initial encounter. It doesn’t take a long time to make a logical or advanced backup of a mobile device while you’re doing an interview, while you’re keeping the person occupied. That backup can be done, and the phone back in their hands, right away. There’s no extra time needed to do this. So you’ve got the initial consent, you’ve got a cooperating witness, they’re in front of you… grab that data, move on.
Mobile Device Investigator gives you a means to an end: close it out right now, get the data, move on. So with that, over the years and something I’ve always talked about and something I’ve been employing since the early 2000s is triage. It has become an accepted practice for starting your investigations, and there’s no time like now, when you have this information in your hands, when you have it right in front of you, and you need to get it to move your case on and not wait… it is tough. You want the guy in your department or in your lab to come out and do this for you, or you want the people to come in and have them do it, but it really backs you up: they’re backed up, now you’re backed up with your cases, and you just want to get it done. You want to grab this evidence faster, you want to make sure that your victims are identified, or you want to make sure that you have the information you need to keep your case going.
We need to identify those suspects quickly; make evidence-based decisions, and that starts on scene. No time like now. Everybody coming onto this job has grown up with a computer of a phone in their hand. So back in the day, when I started doing this, there was a lot of “well I don’t know computer,s I’m not technologically capable of checking my email” – that’s not the case anymore. Everybody knows what a computer is, everybody knows what a cell phone is, everybody has one, everybody knows how to use them, everybody knows what data is in them. So there’s no time like now to get that into your front-line officers’ hands, who have the ability, who have the knowledge, and who have ways of talking to people who have these as well.
The ability to handle these devices and know how they’re being used, is inherent now. And like I said, I’m repeating this, but no better time than now to start getting that data upfront when warranted. YOu know, your low-hanging fruit, your artifact collection, volatile data. Npw that, in computers, is one thing, but when you’re talking about a cell phone in somebody’s hands who’s going to walk away from the scene: that right there is volatile data, so collect it now.
Perform your interviews, your interrogations, while this backup’s being done. You can have this backup in your hand, you don’t necessarily need to scan it at that moment, it’s the data that you’re collecting. Let’s get that done on-scene.
Right? And just think about the situations where you can do this. Like I said, you’re on-scene, there was a fight, somebody videoed it, you’re on-scene at somebody’s house taking a threatening complaint and you just need the messages. But you want to collect it the right way. You’re on a knock-and-talk with somebody, you’re getting consent to look at this; it could be done fast, efficiently.
Your SROs, you’re in a school dealing with people who have phones in their hands all day long, making complaints about things all the time. So if this SRO can sit at his desk doing his interview and make a backup of the mobile device that needs, the communications that are on there, the multimedia that’s on there, not necessarily a full-blown “I want everything”, but if they can do this while they’re talking for fifteen minuts and getting that backup a lot easier, not waiting for anybody, not inconveniencing somebody who’s cooperating with you by taking their life away from them. Because really, phones are people’s lifelines, right? Everything they do and say is on that phone.
So again, kind of not to finish it or wrap it up, but it’s that next level, collection and analysis on-scene, while you’re there, all the relevant and actionable evidence you need. A lot of times you know exactly what you’re looking for, exactly what you want.
And while you’re doing this, it’s building a report in the background for you. You’re taking that unique case information, putting it to work for you. And again I was talking about backlogs, not only your caseload, because now you have to wait for something to finish your reports, but the strain and backlog on the lab, or the person that needs to come out, or be called in, or come out to make a backup for 15 minutes when he could be in doing the other work.
So again, up-to-the-minute reporting justifying everything you’re doing on-scene, everything I slogged, everything is collected, then you’re on your way with your case.
Simple: you have a laptop or wherever you have this Mobile Device Investigator installed, we’re showing it here on a rugged ice laptop, great for in the cruiser, right? So your MDTs, your mobile data terminals. You have a phone; it’s simple, it’s just connecting it through the cable, the tool will walk you through, which we’re going to show you, on connecting the device and making that backup. Very, very simple.
So with that, it’s demo time. And before I show you that, if you’re travelling to Dallas next week for the CACC, be sure to stop by our booth. Not only can you see and put your hands on MDI, I will be there, I will let you touch it, I will let you back something up if you want, we can work with your computers with the Digital Evidence Investigator. We’re going to have a cool little tool there too that we really want feedback and input on, and I’m really looking forward to meeting everybody and having you stop by and look at this item that we’re going to have.
So with that, let me change my screen here. Alright, there we go. So. Here we are: this is Mobile Device Investigator. This is our newest addition to the ADF family of tools. This is really designed to be put in the hand of the frontline officer, agent, the SROs in the school, probation officers, whoever;s out there who needs to get this data fast without having to call people out, again, this is it.
So you can see, if you’re on-scene, you have your laptop, you have your mobile device, you have this installed on your Surface Pro, whatever you have it on: you go right here, ‘Scan Android and iOS Devices’; it is logical only. You’re going to make an advanced backup of that. Advanced logical. So what that means is you have to have access to the phone, you have to have credentials. And if you have the person in front of you, typically what you’re dealing with, especially on the front line, is a willing person, a cooperating witness or a victim that wants to give you all the messages that they have and show you everything that they may have accumulated on their phone.
So you have that mobile device, you go to ‘Scan Devices and Images’, right here is Target Devices: if you have the phone here, we’re just going to ask it to add a phone. So far so good! I’m going to ask it to back up an Android right here. As you can see, it wants me to connect the device, and it has instructions all ready there for me. So I’ve just got to unlock my phone.
So I’ve connected the phone, it went through all the steps to make sure I had everything set, and the phone is now ready to be backed up or scanned. If for some reason any of these steps weren’t done, it’s going to give you the instructions. Where it says in the center ‘The Android device is ready and will be added to the list of targets’, your instructions will show up here. So if debugging is not activated, it will walk you through the process to do that. Again, very simple to use. We also have a go-by, so this is something that they can have attached to the back or in a pocket or in their pocket, they can pull it out and say “This is what I need to do to connect this phone.” It also comes along with the training, and training for Mobile Device Investigator is typically a day to get you through everything, not only backing up and understanding mobile devices but also the analysis portion of the tool, really diving in to that if it’s something that you want to do.
So here again, I’ve connected it, it’s ready, I hit ‘OK’. You can see I have certain search profiles here, this is if I’m going to scan on-scene. I want to show you this, how it works, so let’s say I want to scan and I just wanted to pull out my messages, I can choose that profile over here, I can give it a name, we’re just going to use ‘Demo’ here. You can see I can add fields, so the person who’s doing the work has to add their name, I can give it a case number, and then I can hit ‘Scan.’
So now this again is if I want to scan on-scene. Not only am I going to back it up but I’m going to start a scan. And what this does, it’s connected to the Android now, it’s going through it, you can see it is starting to make a backup of the device.
That’s it. That’s all the person needed to do was connect the phone, choose what they wanted to scan for and they’re preset in here, so if you’re working with your forensic lab, or if you want to spend some time upfront you can make some customised scans so you always have what you’re looking for there, and you just hook up your phone, choose what profile you want to scan, and we’ll get a little more into that and what’s in the profiles, but for this one specifically I just grabbed messaging.
The backup process: let me talk about that a little bit. So with a heavily used iPhone, a lot of messaging, a lot of transferred files back and forth, a lot of saved items, a lot of phone calls, a lot of search history… so a phone that’s used every day for work and pleasure, takes about 9 minutes to back up. And then if I were going to do a comprehensive scan on that it can take — and I’ll show you this in a little bit — it can take up too maybe twenty minutes on the scan for that phone. And that’s pulling off all the multimedia, all the video, all the messaging, putting things together in the background: what we’re going to show you in the analysis portion is our tool really does do some of the work for you in the background.
But 9-minute backup, 20-minute scan, and that’s for comprehensive, that’s for everything. But you take that 9-minute backup, you hand the phone back to the person, and then I run a scan for just the messaging that I’m interested in, that could take like 18 seconds. 15,000 messages out in about 18 seconds. And then you’re able to go through it and see what you want: filter, analyse, tag, all the different things you want to do on-scene.
So that was for an iOS. For an Android, same thing, heavily used, work, personal, we’re talking about the same, anywhere from like 9-15 minutes on the backup on that. You hand the phone back, a comprehensive scan on that was about 15-20 minutes as well, and again messaging, you could pull those messages off again in seconds, because you’re cutting out everything else that you’re looking for. And it’s going to show you if there were messages transferred between… if there was other things going on. You can sort your messages by, you know, a lot of people have different apps on there. So they’re using Kik, they’re using Viber, they’re using WhatsApp. So if it’s supported we’re pulling it out, you’ll be able to sort those right out, you’ll be able to sort by the principal, the recipient, you’ll be able to sort by just the messages that have attachments or MMS in it. So a lot of different ways you could do that.
So iOS the backups, the times, is pretty much what you’re going to be looking at, because when you’re on-scene that’s the most important, is grabbing the data. As long as you have the data, you can hand back the phone, they can leave, you can do the scan the next day when you come into work; you could do it later when you get back to the office and you’re writing your report; or you could do it right there on-scene after the person has walked away. And now you have that to break down in all the different ways that you want to do that.
So also with this, and I am going to apologise a little bit here, this backup is usually done in a couple of minutes, but because I am broadcasting worldwide here from ADF central, it’s taking up some of my system resources so it’s taking just a little bit longer. And these aren’t issues you’re going to be having out on the field because this laptop’s going to be dedicated to doing exactly what you want to do.
So it’s just coming into the finishing portion here. Again like I said, with Android and iOS, with the logical we are making an advanced logical backup. So with that we are pulling what’s typically pulled in let’s say an iTunes backup or an Android backup, plus more. We’re going in and we’re specifically grabbing information that is still available that we may need.
So you can see here, as I was explaining that, that the backup had finished, and then the only thing I was scanning for was messaging on here, and there wasn’t a lot on there. But that just took seconds to do that/. So you can see in five minutes, even though it may have seemed a little longer, in five minutes the backup was done. I can now pull that phone off, hand it back to the person and do any scans that I need to do on that.
Same with, let’s say you don’t want to do a scan on-scene. I can come into backup Android and iOS devices. And it’s going to ask me here, if I can just move something on my screen… I could add a phone, again, I would pick ‘Android’, connect the Android, it would make the backup, I’m going to cancel this, and then I can hand the phone back. And now my backup is saved, and now I can move to either another phone, maybe I have multiple people that I need to do backups for while I’m on-scene, or multiple phones. So I could do one, hand it back, do another, back up, I don’t need to wait for a scan to finish.
So another way to do that, so how you would do that, is I come back into scan devices, and I say ‘Add a phone backup’, and you can see here I have a… let me actually go back here, I have an iPhone 7, I’m going to select that backup folder. So now you can see, there’s my Apple iPhone 7, it’s a backup, I just want to pull the messaging out of this, and this is one of those heavily used phones. So I have this set so you just have to put in your information, you have to put in a case number, and then I hit ‘scan,’
So one of the nice things the tool does, is the first thing it does, is you can see up here it’s saying ‘Caching files’. So it’s making a listing of everything that’s in that backup for you, whether it’s collected or not. So even though I’m just collecting calls, emails, messages and saved contacts at this point, it is also making a listing of every other file and folder that’s in this backup, so I can still search through and say “Yeah, here’s this, here’s that,” so when I do my more comprehensive scan later I will be able to pull that information out. And it will also help you tie things together in that analysis.s
So once that listing is done, you can see it went through, it processed the calls, you can see there are no emails, it’s going through the messaging and parsing out the messages. Once the messages are done it will go through and parse out all the contact information as well.
And I’ll show you here the results in a minute, but if this was a scan that would take a while — if I was doing a comprehensive scan and maybe images were something I wanted to take a look at — you can always go into ‘Show Results’ as it’s scanning this backup. So as it’s collecting information I can go in and see what it’s collected already. So there’s really no need to wait.
You can see here in the messages it collected 15,000, almost 16,000 messages, iOS messages and Facebook messages. And then it went through and pulled out the contacts, 1100 of them, and that was from the iPhone contacts. And it looks like some calendar contacts there as well… there you go. So calendar, iOS, iOS messages, and Facebook contacts were parsed out of that.
It’s just going through and doing… it’s going through the tables and setting it up so that you can do some keyword searches, and when it’s done you just hit ‘OK’, I go to ‘View Results’, and I will tell you that this is typically, and I will show you… that took a minute and 29 seconds because I am using all my system resources again broadcasting again here from ADF central. But I’m going to come back out here and go into my results, and here’s iPhone 7 messaging only, and this was before I was doing the webinar, you can see here the date and time, it was at 9 o’clock this morning on the East Coast, and it was the messaging only on the same backup, here it is here on the bottom showing my target device, all the same numbers, and that took 18 seconds. So it is fast. So imagine you’re ons-cene, somebody has this device, you make a backup of it, then you scan it just for messages, and the time of the backup is 9 minutes, the time of the messages is 18 seconds. That’s what we’re talking about. That’s what we’re talking about: getting you the information that you need upfront.
Little reminder here that I am going to start going through some of the other stuff, I know I’m talking ,this isn’t a back-and-forth at this point, but if you do have questions please send them through, especially if it’s about connection or something I’ve already covered, and we will cover questions at the end.
Next is reviewing scan results. So I’ve done my backups, I’ve done my scans, I can come in here and look. So there is my messaging only. So I have my results, I just went over that summary page, I can come right into my messaging here, and the first thing I may want to do, maybe is just filter this down maybe to a specific source: are they Facebook messages or are they iOS messages? So you can hit ‘iOS’, hit ‘Apply’, and now it takes out all of the Facebook messages and I’m just looking at the regular messages.
And again, I was talking about searching across your tables. So if there wa sa word, a specific word I was looking for, I could put that word in and pull down that message right away as well.
Another way to filter here is, I was talking about attachments. So if I go to ‘Message Type’, I can see I have both text and MMS, so I can select ‘Media’, hit ‘Apply;, and it will show me heer the messages that they have those attachments with it. It will show me what attachments [were] with it, what the attachment name was, date and time, your recipient, incoming, outgoing, all that information is here across the top, but it is also on the bottom in your properties pane.
Sop the properties pane on the bottom always shows everything you have. And what that helps with is if you want to clean up your top and maybe not show every column, you’d be able to clean that up, keep your important stuff that you want to see in the top, and then everything down on the bottom, so that’s a housekeeping tip there on how to use it, when you’re going through some of this stuff.
But again, keeping this to the front line person out there doing this, you can see how easy it was in 18 seconds I can come in here, go right into my messages and start filtering it and looking for exactly what I wanted. I can go down to the principals and recipients. If I was looking for it between one specific number — the local user and a specific number — I can pull that up and I can hit ‘Apply’, and now I just have that message as well.
So let me pop out of there. So that was just messaging.
Here’s an iPhone 6 that was just… let me go back. I actually wanted this one down here, the custom iPhone demo.
So this is a full scan. So you’ve made your backup on-scene, maybe you’re going to do some investigation tomorrow. This is the full one. So this took 6 minutes and 11 seconds to scan this phone. You can see some things are tagged. So if you have custom scans, you’re looking for information, maybe you’re running some hash sets in child exploitation cases, you’ll be able to automatically tag those. A little more advanced, a little more on the analysis side, but again when you get training for this you go through all of that. I’m going to show you some of this as well.
But we also have a classifier: so after the scan is done, the classifier will run and break down your images if you’re looking for something specific. So if I go into my pictures, you can see some of the ones that were automatically tagged up on top. We mark your pictures with this little magnifying glass if it’s a match on a hash set or a keyword, right, so if you’re looking for specific keywords and the image has that name on it, it will automatically alert you to [that], which can be filtered, so I can come in here and look for my matches, it’s called a match, so ‘Just show pictures with matches’, and it will do that.
Another thing we do here, in pictures, we link artifacts. So I’m going to turn that matches pane off and come in here, and we have linked artifacts. So you know you have a matching case,maybe somebody sent an inappropriate picture, and like here I’ve pulled out 15,000 messages, but I want the ones… the ones I’m interested in are the ones that these pictures came through messaging. I can come in here, put that filter on right away, and there’s all the pictures that came through messaging; I can go to the picture I’m looking for, and then all the information is down here on the bottom. I can take it to the path of where it was found, I can take it to the exact message, right? So now I have the picture, now I can go to the messaging. And then here’s that message of when it was sent; I can see who the person was that sent it, who received it, and if I wanted to filter on this, I can do that as well.
I can go back here and again, putting that all together for you, we can also take it… if I come back up here… to our timeline, which I want to go over. So a timeline is all the artifact records and all the files that have been collected — the individual artifact records and the files — put into one comprehensive timeline. And what that does is it allows you to go in and see what was going on. So if they had multiple messages going on, or maybe going through and doing some web browsing or chatting with two or three different people, you’d be able to see that conversation as it happened here, going through. So I was talking, they were talking to this person, this person, and that person. And I’ve had cases like that, where especially in the child exploitation venue, where somebody is talking, or talking to somebody underage on one chat, but then they’re talking with somebody their age on another chat about what they’re doing. So they’re luring somebody, they’re grooming somebody, they’re having a conversation. By pulling it into the timeline here you would see everything that they’re doing here as well. Maybe they were making a phone call while they were doing this texting; you’d be able to put that all together there.
So that’s the timeline, those are the pictures.
If we’ve grabbed video, and I know a lot of you work with video, we grab the video for you, but when you want to go through it, we grab frames. So first frame, last frame, 48 from in between. You can set it on the first video and then arrow through all your videos and get a pretty good idea of what’s going on in each video.
If there was a video that you weren’t quite sure of then you can go to the Preview tab and play that video as well, to get a pretty good idea of what was in there.
So let me go back to the pictures. I started talking about classification. Let me turn off that linked artifacts.
So when the scan is done. When the scan is running the first thing we do is we place a photo probability onto your pictures, or not the multimedia, what we call photo probability. So if I come into my filter in photo probability and set it to a medium, it’s going to take any pictures between 70 — it has a probability of being a picture between 70 and 100%. And if I hit ‘High’ it’s going to filter out any pictures that are below that threshold. So out of the 4500 pictures here it took out 600 that it believed were emojis or icons, that type of pictures. So it brings you down to what you’re looking for, it weeds out some of the noise for you.
Another thing we do is, if it has a probability of zero, it won’t get classified, so it doesn’t waste the time on visual classification. And you can see here all the different — we have eleven different categories — you’re doing a drug case and you’re looking for weapons, you can come in here and apply, and you can see all the pictures of weapons, terrorist case, what have you. But I can also come back into my filter, turn that one off, [filter] on US currency, hit ‘Apply’, now I’ve got all these pictures that have money. You know they’re always taking pictures of themselves with their drugs and their money, or their weapons and their money, in their hand, so this gets you direct to that.
If you’re doing child exploitation cases we do hav eupslkirting, chuld abuse, bestiality, pornography, all different…. [If] you’re looking for portraits of these people, the selfies, if you will, you could bring that in, so now you have all the portrait-type, all the selfie-type pictures that were taken on that phone as well. So a lot of different ways to put that together.
So attaching: simple, easy. Backup: you could attach, back up and scan at once, or you can attach, back up and scan later. With both of those options, as soon as the backup is done, the phone can be disconnected and handed back to the person. If it’s involved in a scan, you’d have to wait to do another backup. So if you had multiple phones you would do a backup, hand the phone back, do another backup, so on and so forth. Then you could come into your analysis, I showed you how quick it was, or run a scan that’s not necessarily everything, but just specifically what you’re looking for.
Videos, keywords, we do support foreign languages, so if you’re looking for foreign languages in there, you can do that as well. When you are looking for specific words, like the word ‘shellac’ here, not only was it found in a file but it was also found in messages. So I can see right away exactly where my keywords are and what I’m looking for, it kind of helps you zone in on what you’re… we’re all about getting you to your evidence, getting you to your information, as fast as we can.
You can see all the different things we’ve collected. If I wanted to go into browsing history: any table we have, very easy to come through and sort by what you’re looking for, like I’m looking for my Firefox, if I just wanted to zone in on that, or looking for a specific URL that had maybe the word ‘weapons’ in it, I could do that and then filter by the word ‘weapons’ in the URL, and you can see there that my filter is applied. Filters are easily turned on and turned off.
So let’s get into… even with that, if I wanted to make a report on this case as well, you can see I had some things bookmarked in there. I need to come in and the next day, make my report so I can send it off to court and say “This is why I did it on-scene and this is what I was looking for”, anything that you automatically tag or bookmark is in the report automatically. If I want to add a summary page it’s just a matter of clicking on it, device information if it was collected. So very easy to put your report together and hand it off to somebody. We do HTML, we do PDF, CSV, VIC data: so if you’re doing child exploitation and your Project VIC cases you can export that, and maybe import your images into another tool or send it up, and then standalone viewer.
So here’s another awesome… I love this feature of the tool. So you do this backup of the scan, or you do the backup and you scan it, but it’s for somebody else, this is somebody else that’s going to go through this and look through the information. You put it in a standalone viewer. Put it on a thumbdrive, hand it off to them. They don’t require a license to use it, they can go through and bookmark, tag, sort filter, and they can also report. They just can’t make another standalone viewer. So it’s great, you do a backup, you do a comprehensive scan, hand it ofo to the investigator, they can go through it and make their own cases on it, make their own reports as well.
Also, when you’re done with your case, you want to achieve it, you put it in the standalone viewer, you achieve it, if it needs to come out two years from now for a court case, you pull it out, it will open up like the day you put it away, you don’t have to worry about backwards compatibility. An awesome, awesome, awesome feature.
With that, let me go into customization a little bit, and then I’ll finish up with a couple of other things and take some questions if we need to.
But customization. You can see here I have… we give you two out-of-the-box defaults: mobile device general profiling, mobile device child exploitation. They go through, and i’m going to copy one of these here, you can see in one of our categories, whatever is checked is what it looks for. We have some child exploitation hash sets and keywords that we run; it’s going to pull out your messaging, your device data, your documents, multimedia, your user data, your web browsing history. So this, a complete scan would collect all of this. And again, this could take 20-30 minutes depending on what’s on the phone, the power of the computer you’re using to do it; there’s a lot involved in that.
But I want to add my own keywords, or I want to add my own hashsets. It’s very easy to come over here, add a new capture; I can search for my own keywords; I would put it in a category, if it didn’t already have one, I’m going to put it in one called ‘keywords’; I’ll just name it ‘mine’ for right now. But I looked for that word ‘dual’ before, that was one of my keywords, I could just type that in if I thought it was unique enough, especially with text messages, right? So everybody’s got their own language when they use text messages, and sometimes you know they misspell things, or the victim says “yeah, they sent this message, and oh yeah, they’ve misspelled this”. So if you’ve put that keyword in there, and you can automatically tag it, because you say “I know if I find that word misspelled it’s going to be theirs”, so you can automatically tag it. And then you can put a comment, especially with foreign languages. If you have a foreign-language word you’re using, you can put that word in as your source expression and then comment to give you the translation. Or, you know, your victim’s name: I have Delmar over here, and Delmar is the victim, I can type that in as well. Whatever you’re looking for, you can type them in.
But I can also import, so CSV or text, I could point it towards that list and pull that list in. When I add my keywords in there’s a few different ways to search for them: we search in file and folder names; so if the word ‘Delmar’ was the name of a document it would pick it up here, or the name of a folder; artifact records from the other captures, so your web browsing, your device data, your messaging, all those other captures that have collected data, it will run the keywords against there.
So if Delmar was something that was searched in that Firefox data it would show you there — it would show you the key hit there. And then over here, content and metadata, if i’m looking for it in documents or text files, internet documents, that’s where I’m looking for the keyword. I can tell it how I want to identify these files, where I want to look, where I want to target on that mobile device.
And then advanced file properties. I’m going over this really quick, this is all part of the training as well as… we have some videos on our website, they’re nice, short, ‘this is how you do this’ type of videos. If you’re looking to add a keyword, watch this video, it’s short, it’s sweet, it gets you done.
You would save that, that would become part of your profile, you can also add your hash list. Much the same way: you put it in a category, give it a name, pull in your hashes. So I have images from another device that I want to see if they’re on this device, I could point it towards the folder, it would bring those in and hash them. I could point it to one of my own hash lists, and I could also import the Project VIC or CAID hash sets, just pointing it to their JSON file and it will bring those in.
Once they’re in, again, I just tell the system that these are pictures or hashes of pictures and videos, where I want to look, how I want to look, and it becomes part of my profile. So again, that’s how I made these mobile multimedia only, messaging only, and then messaging and multimedia — the possibilities are endless. Maybe you just want the artifacts; maybe you just wanted to go through and pull device information for you first; a lot of different ways you could break this down, instead of doing a complete scan. But when you do have the time, absolutely do a complete scan and go through and do your full analysis.
With that, so we’ve done scanning; so this is where you hook up the phone, you have to have access, it runs a scan as soon as the phone’s done backing up, you can hand the phone back. Second one is backing it up: you back it up, you hand the phone back, and then you can back up another phone. Don’t do the scan yet. You can use that backup when you are ready to do the scan. Reviewing your scan results, setting up your scans, settings; that’s where you would globally make your tag references if you wanted; where your licensing information is; where your data paths goto; and if you wanted to add your own scan information fields like agent fields, case number, room, seized from, and so on and so forth.
And then our user guide is always here as well. Again we have all the latest and greatest on our website on the downloads page; we have our learn videos where you can learn to use all the different features and functions of our tool. We are not just Mobile Device Investigator, we also have Digital Evidence Investigator, which is for computers; and you can bundle that with Pro, which I will go over here in a second.
So let me pull this back up. So mentioning the other tools: Mobile Device Investigator, it’s a single uniform user experience; our tool is the same whether it’s Triage Investigator, Triage G2, DEI — Digital Evidence Investigator — or Mobile Device Investigator. They look the same, the analysis is the same, the function is the same. There may be some different features to it, but there’s no learning curve from one to the other.
Our profiles, I kind of went over that, they’re pre-configured, and you can also customise them, when you get into the computer we have them broken down by quick, intermediate and comprehensive; you can create your own.
The timeline view: the who, what, when and where; the putting the user to the files. Making a timeline based on activities, based on people, the timeline is very, very powerful and a great, great part of the tool. We were one of the first companies to combine the files, artifacts and user activities into a timeline. So you think about that: a lot of other timelines say, OK, the SQLite file for the Firefox activity was hit at this time, but it doesn’t really help you much. We break out all those records and put that into the timeline, along with all the files, and combine that so you can put this all together.
Triage through investigation: I hit on this as I was going through. So we can do a fast triage even with the mobile, we can say “I’ve got my backup, now I just want the messages, and later I’ll go back and do my comprehensive scan.” We do the same with computers; we can process it, do a triage in minutes — five minutes, ten minutes — we can set it so it runs fifteen minutes, thirty minutes, forty-five minutes; and then we can also set it so that it runs hours, gets everything from everywhere. Very, very customizable, and lets you cater to what you are looking to do.
Portable reports, I kind of went over that: great to hand off to other investigators, to prosecutors; maybe sanitised, so a lot of different things to do there.
I want to thank you for your time. If you can’t tell, I’m really proud of the products that we have. I am committed to helping you; not only do I do this, but I do training, I go to the shows, but if you call in I’m one of the people that you’ll talk to; one of my mottos is “I want no frustrated users.” So you have a problem with a tool you give me a call, you send me an email, we will get somebody working on it as soon as we can.
We’re optimised for speed and accuracy — we are all about getting you to your information as fast as you can, taking the noise out of the way, letting you make your decisions, and then you can go back and do the other when you do have time, or hand it off to your forensic guy and he can go through and do a more detailed report at that time for you. But it’s all about putting it in your hands, getting you what you need, helping you move on with your case, cutting your backlog, your caseload, because you’re waiting for somebody else.
I hope this all helped. If it’s something you’re interested in, TryADF.com, it’ll give you all the information about our tools. Fill in a couple forms and you will be on your way.
So, with that… are there any questions? And I see one… let me see if I can expand this a little bit, there we go.
If there’s an SD in the card will MDI back it up at the same time as the phone, or will you have to do it separately?
Yes, the SD card is part of the backup process. But you also have the opportunity, if you wanted to take it out and make an image of it, a forensic image of that SD card separately, you can do that as well. But it is part of the backup process.
And that seems to be all I have at this point. Again, thank you for your time, I really appreciate it, and if you’re coming to CACC stop by, say hello, see our new little gadgets we have with us, walk away with some swag. But that’s it for today, thank you very much, and everybody have a great rest of your day.